Automation Logic is now part of Version 1
Automation Logic was acquired by Version 1 in January 2023.
Through Automation Logic’s highly skilled team of Cloud and DevOps technologists, Version 1 is helping customers rapidly deploy large-scale Cloud Transformation solutions. This acquisition brings additional scale and capability to Version 1’s advanced Cloud and Digital transformation services expertise. This has accelerated Version 1’s growth and ambitious plan of being one of the largest technology businesses in the UK.
Combined, Version 1 and Automation Logic now have over 3,000 employees and more than 650 customers.
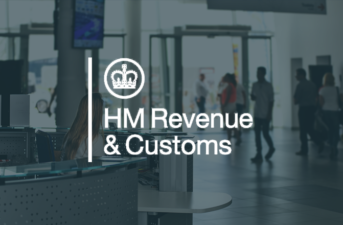
Like Version 1, Automation Logic have been strong partners of technology giants AWS and Microsoft, enabling the organisation to offer a diverse range of cloud solutions to customers including the Ministry of Justice, HM Revenue & Customs and Lloyds Banking Group.
Their team’s Digital Transformation capabilities will help enhance our specialist Cloud services and provide our customers with customised Cloud solutions that will enable them to achieve their business goals.
We're now part of Version 1
This growth places Version 1 as the largest Irish-founded technology employer and comes after significant growth for the firm. Version 1 navigated headwinds to double its headcount from 1500 in 2020 to 3,000 in 2023.
Read More

Customer Success Stories